Full-stack guide to your first NFT project: Part 2

This is Part 2 of the Full Stack NFT project series. The 4 main categories that we are focusing on in this series are:
- Generating the NFT images and metadata (Part 1)
- Uploading both images and metadata to IPFS – This article
- Writing and deploying ERC721 Smart Contract.
- Enabling end users to mint NFTs via Metamask on your React website.
The focus in this Part 2 is uploading both images and metadata, to a decentralized storage network called IPFS, that are going to be accessed by our Smart Contract and later the NFT marketplaces like Opensea.
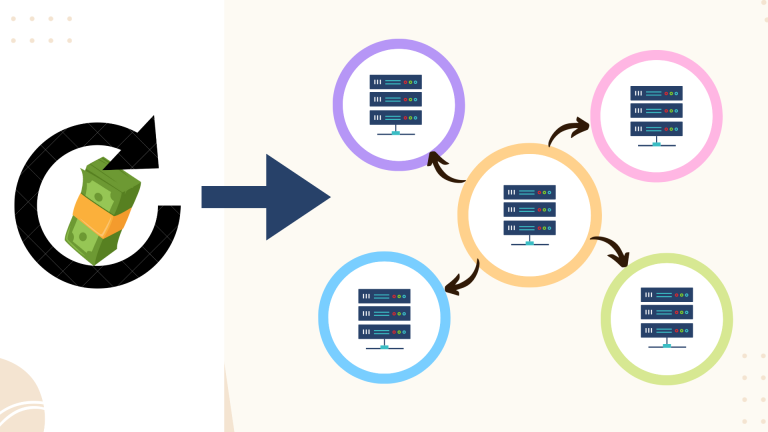
IPFS and Pinata
IPFS is a decentralized storage network. It is similar to Blockchain in a way, the files are copied across multiple servers in a decentralized network, but they’re not stored on all servers like in the case of Blockchain where each transaction is stored on all servers, they’re stored in a few.
In the NFT space we use IPFS because it allows our images to remain available even if the project is no longer active, because you’re not running a server at all, your Smart Contract is on the Blockchain and images are on IPFS.
One option is to run your own IPFS node and in that case your files only exist on your node, but they are discoverable and accessible across the whole network. It is also free to add your files to the network, you just upload them to your IPFS server. The downside is that you have to keep your IPFS server running constantly.
Pinata
Running your own IPFS server is too much effort for one simple NFT project, so the most convenient thing you can do is use a IPFS gateway service provider like Pinata.
They allow you to simply drag-n-drop any files or folders to their website and they magically appear on IPFS. You simply get your IPFS unique link for your files and you can use those in your app or Smart Contract.
Uploading to IPFS
We need to store two separate datasets on IPFS, our images and our metadata files.
Each metadata file must have the IPFS image link within it. So we need to upload the images to IPFS, use the resulting links in our metadata files, then upload the metadata to IPFS.
Step 1: Upload images
Quick note about IPFS links or hashes. The IPFS hash is calculated based on the content of the data that you upload. When you upload any file to IPFS, the file is converted into raw bytes, then a hash function is run on those bytes and a unique hash is computed, this hash represents those bytes and it will always be the same. If you decide to upload the same picture in a few days, you can not because it’s already there, the link is generated. This is ok because all files are public on IPFS, you just need to know the hash to access it.
Back to our scenario with uploading images. What we need to do is put all images in a single folder and name them: 1.png, 2.png, 3.png etc.. and upload the whole folder to Pinata. When you click the upload button on Pinata’s dashboard you choose folder and upload your whole folder. When we upload a whole folder, we will get a hash that represents the contents of the whole folder, for example this is a hash of an NFT collection: QmYRcTUetx1UGgLRFPxb1mq6DmHmaLiLuepuLv8bQKvgUb
With this folder hash we can access all images within it by appending the image name in the end, this folder hash is the same one for all images inside it.
In this case the full image 1 link would be: https://ipfs.io/ipfs/QmYRcTUetx1UGgLRFPxb1mq6DmHmaLiLuepuLv8bQKvgUb/1.png
When you’re using Pinata you also get a Pinata api that is a bit faster: https://gateway.pinata.cloud/ipfs/QmYRcTUetx1UGgLRFPxb1mq6DmHmaLiLuepuLv8bQKvgUb/1.png
That is all for the images, next we look at the metadata files.
Update and upload metadata
Now we need to update our metadata to contain our new IPFS image links. Let’s refresh our memory and see what our metadata format looked like from Part 1.
{
    "description": "Daydreaming on the Blockchain.",
    "external_url": "https://daydreaming.com",
    "image": "{image-ipfs}",
    "name": "NFT #1",
    "attributes:: [
        {
            "trait_type": "Hair",
            "value":      "black"
        },
        {
            "trait_type": "Nose",
            "value":      "small"
        }
    ],
}
We stored a placeholder {image-ipfs} for the image link, now we need to replace that with the real IPFS image link.
Previously we named our metadata files: 1.json, 2.json, 3.json and their corresponding images were named 1.png, 2.png, 3.png. All we have to do now is go through all metadata files and use the folder IPFS hash and append the image number at the end.
def update_metadata(meta_dir, ipfs_hash):
    for filename in os.listdir(meta_dir):
        with open(f'{meta_dir}/{filename}', 'r') as f:
            raw_data = f.read()
            json_data = json.loads(raw_data)
            file_id = filename.split('.')[0]
            json_data['image'] = f'https://ipfs.io/ipfs/{ipfs_hash}/{file_id}.png'
            save_data = json.dumps(json_data)
        with open(f'{meta_dir}/{filename}', 'w') as f:
            f.write(save_data)
Our function receives the folder with our metadata files and the ipfs folder hash. It iterates through the folder and reads the metadata files one by one. In file_id we get the 1 out of the filename 1.json. Then we create the full ipfs link to the image. For image 1 this would look like: https://ipfs.io/ipfs/0xabc/1.png, in this case 0xabc is our ipfs folder hash.
In the end we just write the data to the same filename, overriding the previous file.
After we have all metadata files up to date, we upload that whole folder to Pinata again and we are done.
In Part 3 we will write our Smart Contract and we will use this metadata folder hash to allow marketplaces and other apps to know about our NFTs on the Blockchain.